


How To DIY a Rainbow Doormat For Outdoor Or Indoor Use | Top NYC…

Q&A with Organizational Pro Peter Walsh + Dermatologist Shares A…

Actor Hank Azaria + Freezer Meals + Artichokes 2 Ways with Rach

See Inside Barbara Corcoran's Stunning NY Apartment + It's Steak…

How to Make Chicken and Lobster Piccata | Richard Blais

Donnie Wahlberg Spills Details About NKOTB's First Ever Conventi…

Donnie Wahlberg + Jenny McCarthy Say Rach Is Such a "Joy" + Look…

The Best Moments From 17 Seasons of the Show Will Make You Laugh…

How to Make Crabby Carbonara | Rachael Ray
Rach Chats "Firsts" In Flashback From Our First Episode Ever In …
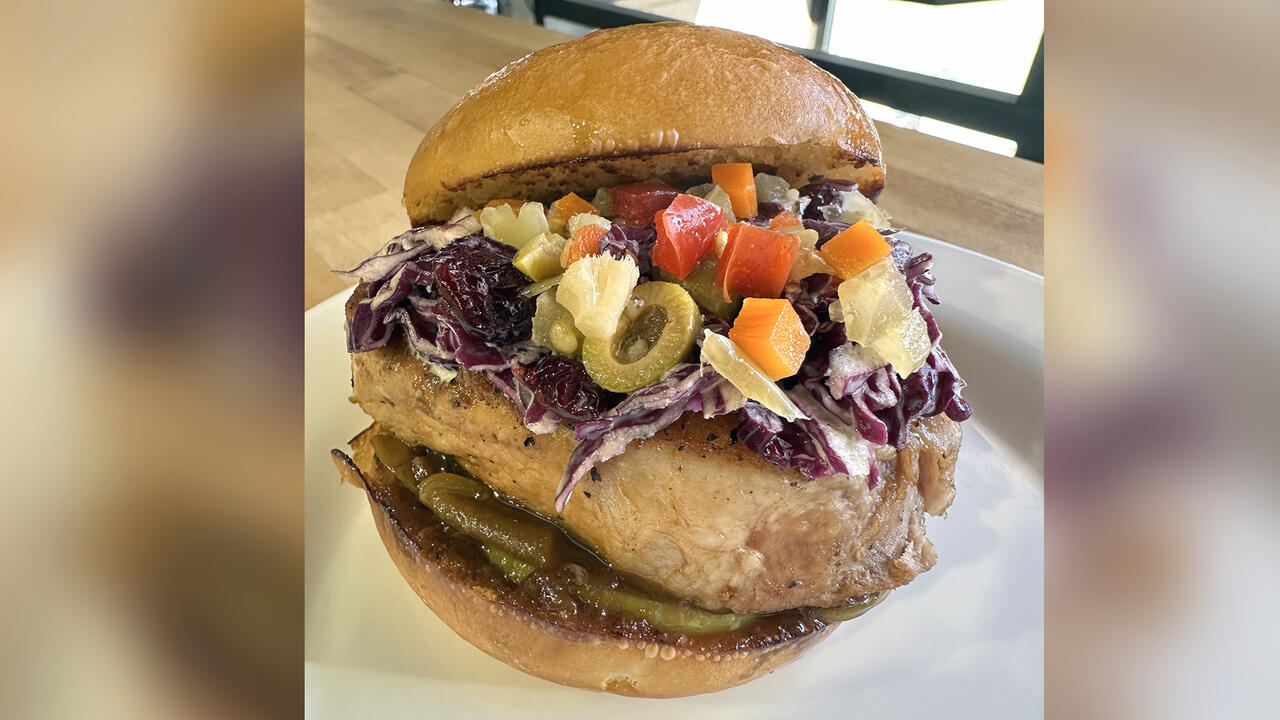
How to Make Apple-Cider Braised Pork Chop Sandwiches with Onion …

Rach's Chef Pals Say Goodbye to Show in Surprise Video Message

How to Make Sesame Cookies | Buddy Valastro

How to Make Tortilla with Potatoes, Piquillo Peppers and Mancheg…

How to Make Shrimp Burgers | Jacques Pepin
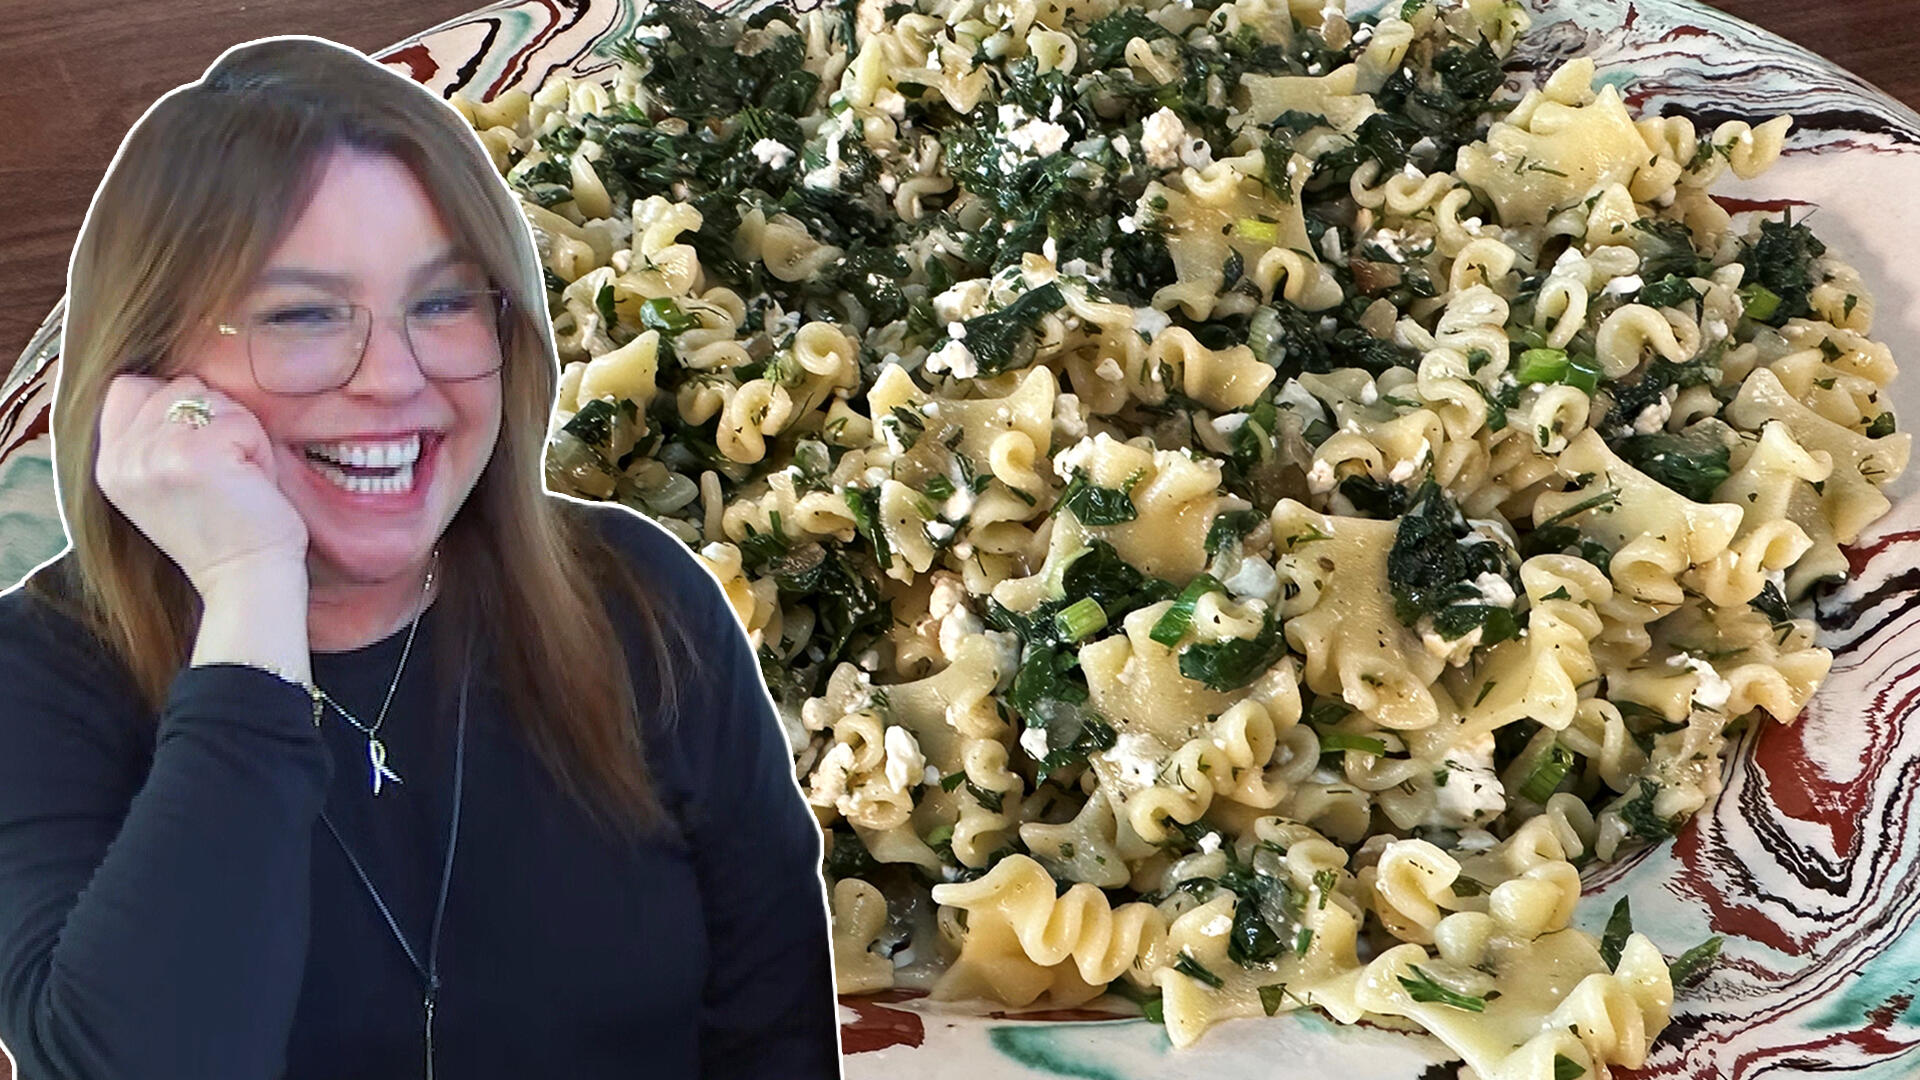
How to Make Spanakopipasta | Rachael Ray

Andrew McCarthy Chokes Up Discussing Emotional Trip to Spain wit…

Celebrity Guests Send Farewell Messages After 17 Seasons of the …

Celebrity Guests Send Farewell Messages After 17 Seasons of the …

Andrew McCarthy Teases Upcoming "Brat Pack" Reunion Special

Michelle Obama Toasts Rach's 17 Years on the Air With a Heartfel…
Each product has been independently selected by our editorial team. We may receive commissions from some links to products on this page. Promotions are subject to availability and retailer terms.
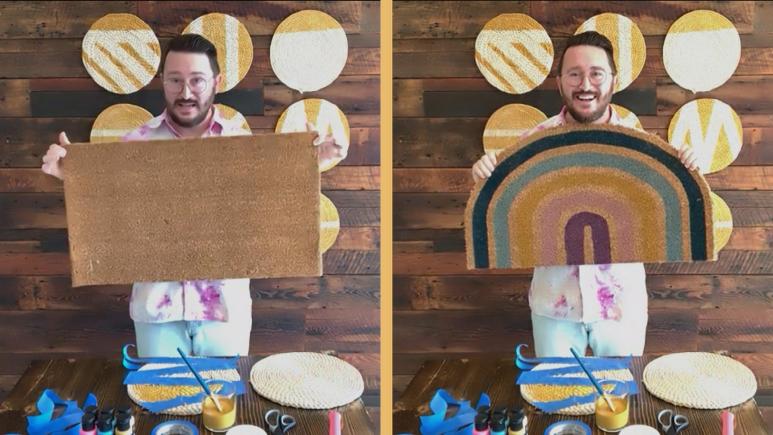
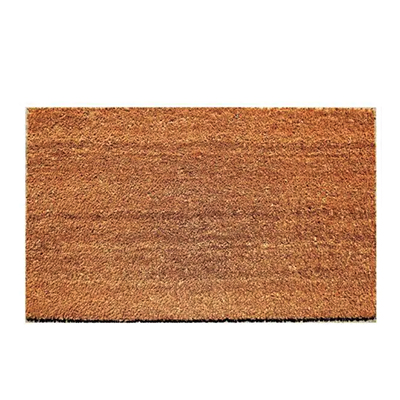
"A welcome mat says a lot about your home. It's the first thing people see when they walk in or when they visit you," says top NYC event planner Jove Meyer. And as Jove points out, most of us are familiar with the traditional natural-looking rectangular doormat.
You may have also seen those stylish doormats shaped like rainbows, which are sold in home stores and look adorable on social media.
"We can go from this natural look to this beautiful rainbow look with not so much effort," he says.
Rachael Ray Show
Keep reading for everything you'll need for the rainbow doormat DIY, plus simple-to-follow steps for making your own.
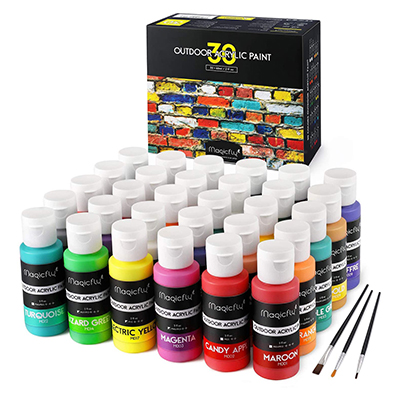
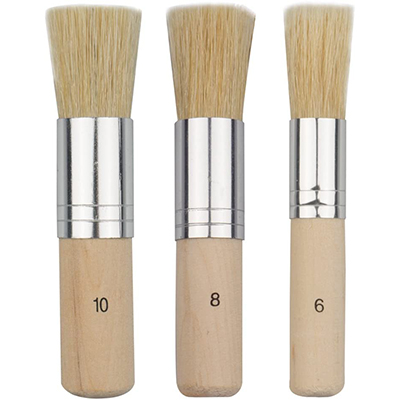
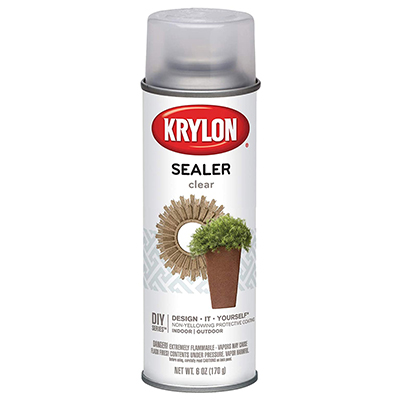
MATERIALS
RELATED: Give Your Porch a Makeover — For Less Than $100 (!!)
DIRECTIONS
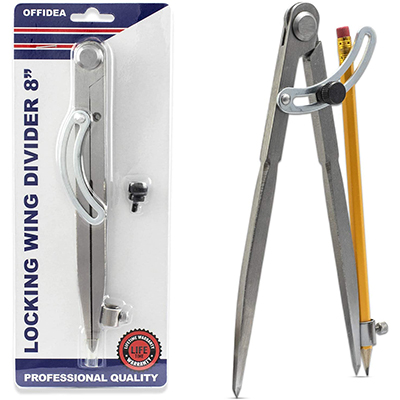
1. On the backside of the mat, use the compass and pencil to measure and mark the arch of your rainbow.
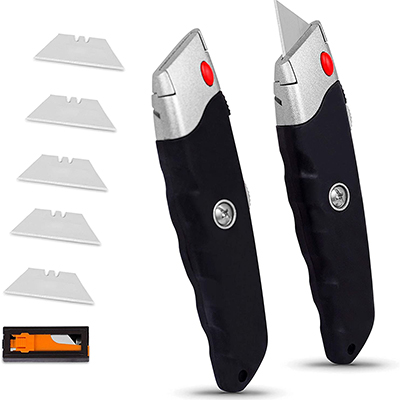
2. Carefully cut the mat into a rainbow shape using the utility knife.
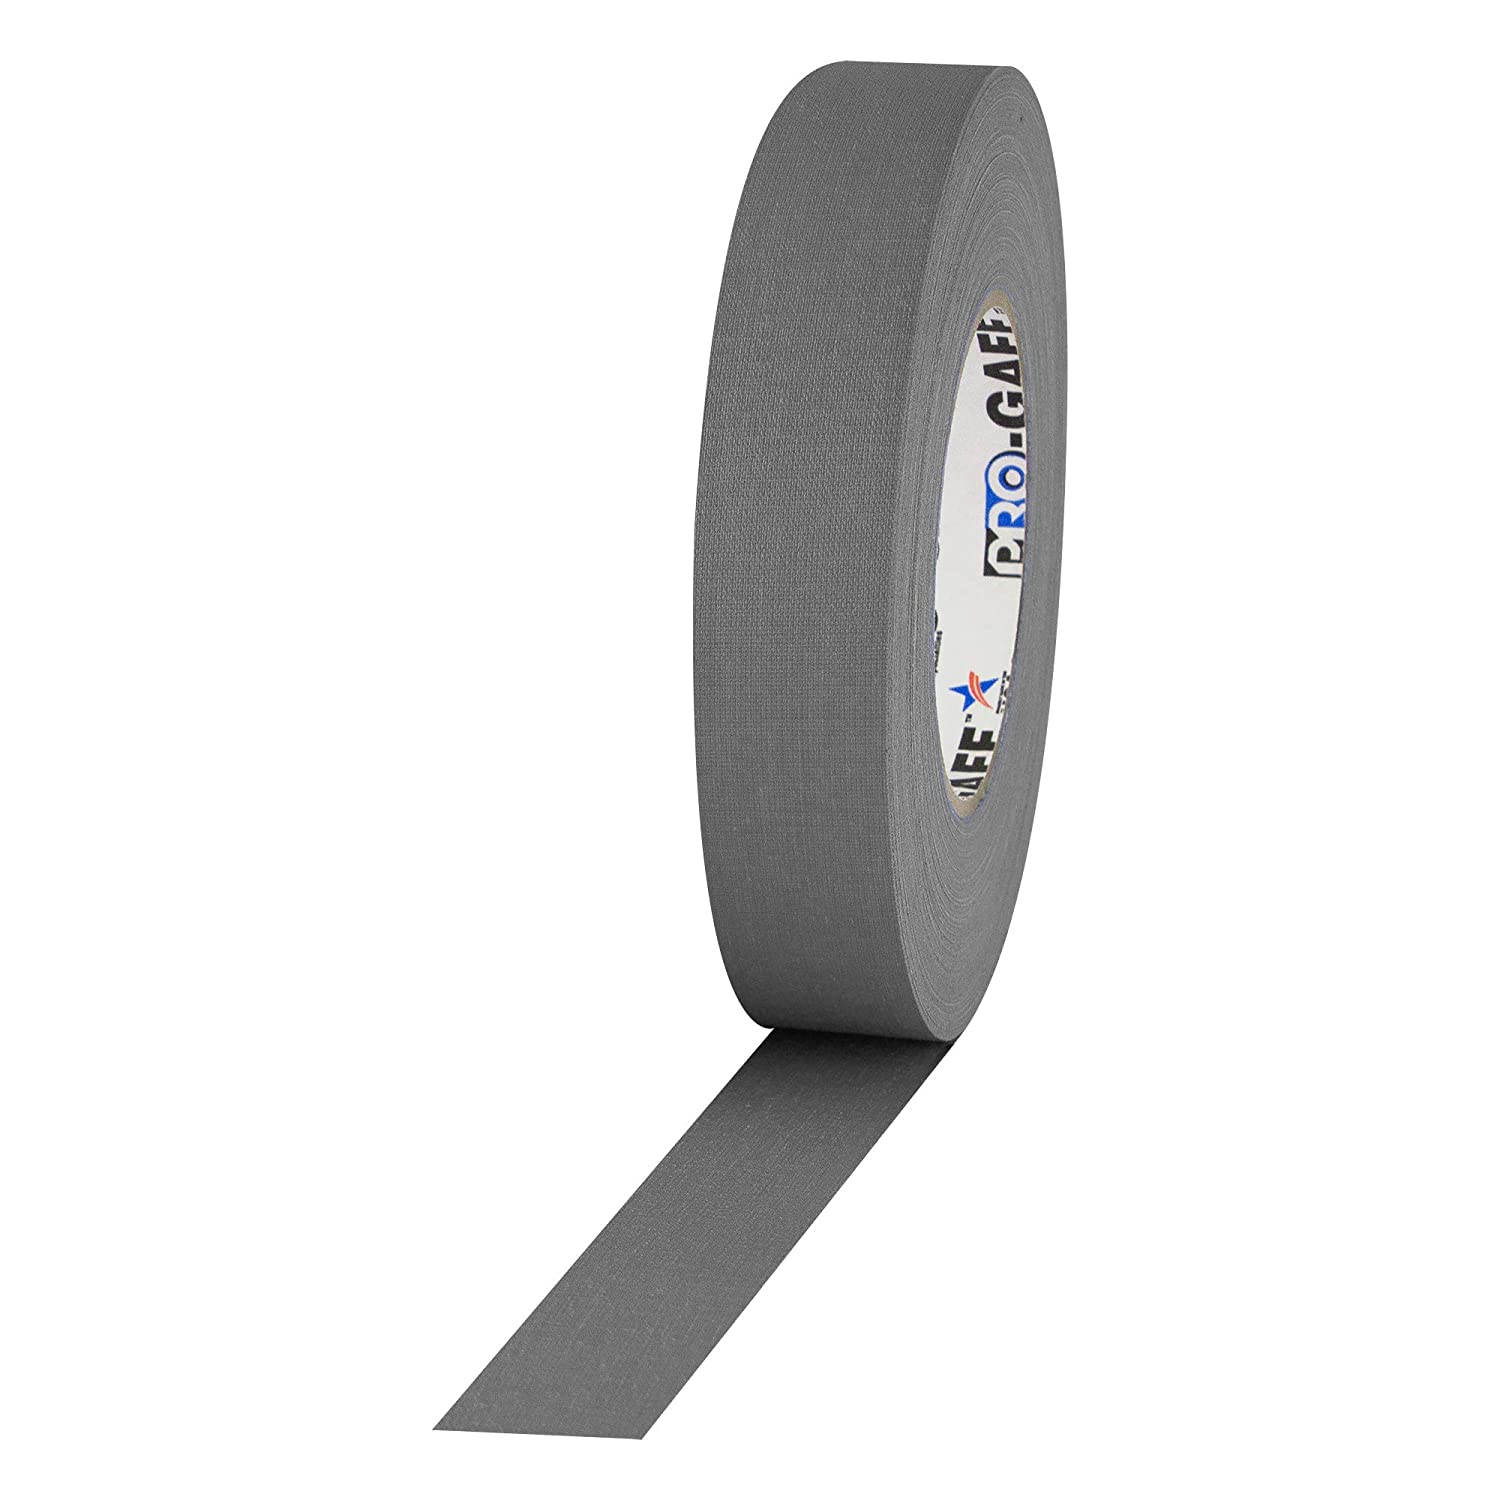
3. Flip the mat face up and use the tape to create the arches where you don't want any color.
"You want a thicker tape for this, because it's a thicker fabric. A gaffing tape is perfect," Jove says.
4. Brush your desired paint colors between the tape arches to create a rainbow.
"If you're using your welcome mat outside, be sure to use outdoor paint and primer. If you're using it inside, you don't have to do that," Jove adds.
5. Once the paint is dry, gently remove the tape and spray the entire surface with sealer. (Make sure you do so in a well-ventilated area.)
6. Allow the sealer to dry completely.
See Jove's finished product in the video above!