

"Cheese By Numbers" Creator Marissa Mullen's Guide to Building a…

Q&A with Organizational Pro Peter Walsh + Dermatologist Shares A…

Actor Hank Azaria + Freezer Meals + Artichokes 2 Ways with Rach

See Inside Barbara Corcoran's Stunning NY Apartment + It's Steak…

The Best Moments From 17 Seasons of the Show Will Make You Laugh…
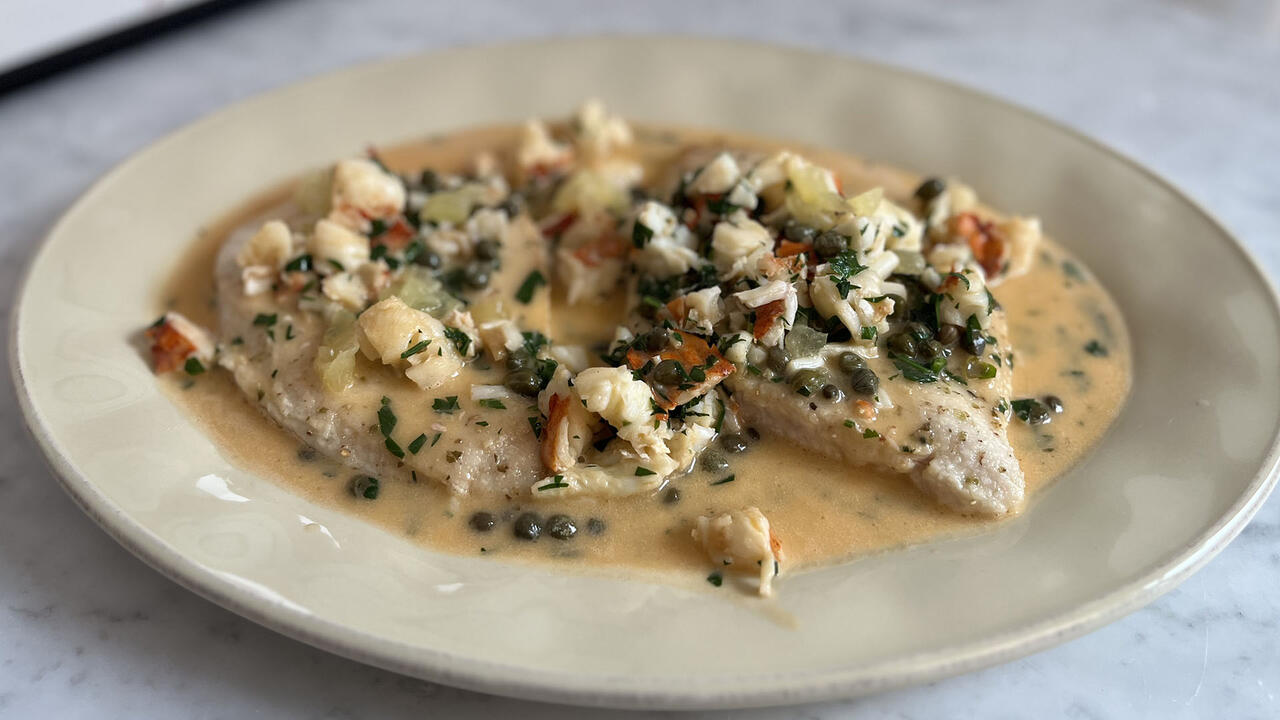
How to Make Chicken and Lobster Piccata | Richard Blais

Donnie Wahlberg Spills Details About NKOTB's First Ever Conventi…

Donnie Wahlberg + Jenny McCarthy Say Rach Is Such a "Joy" + Look…
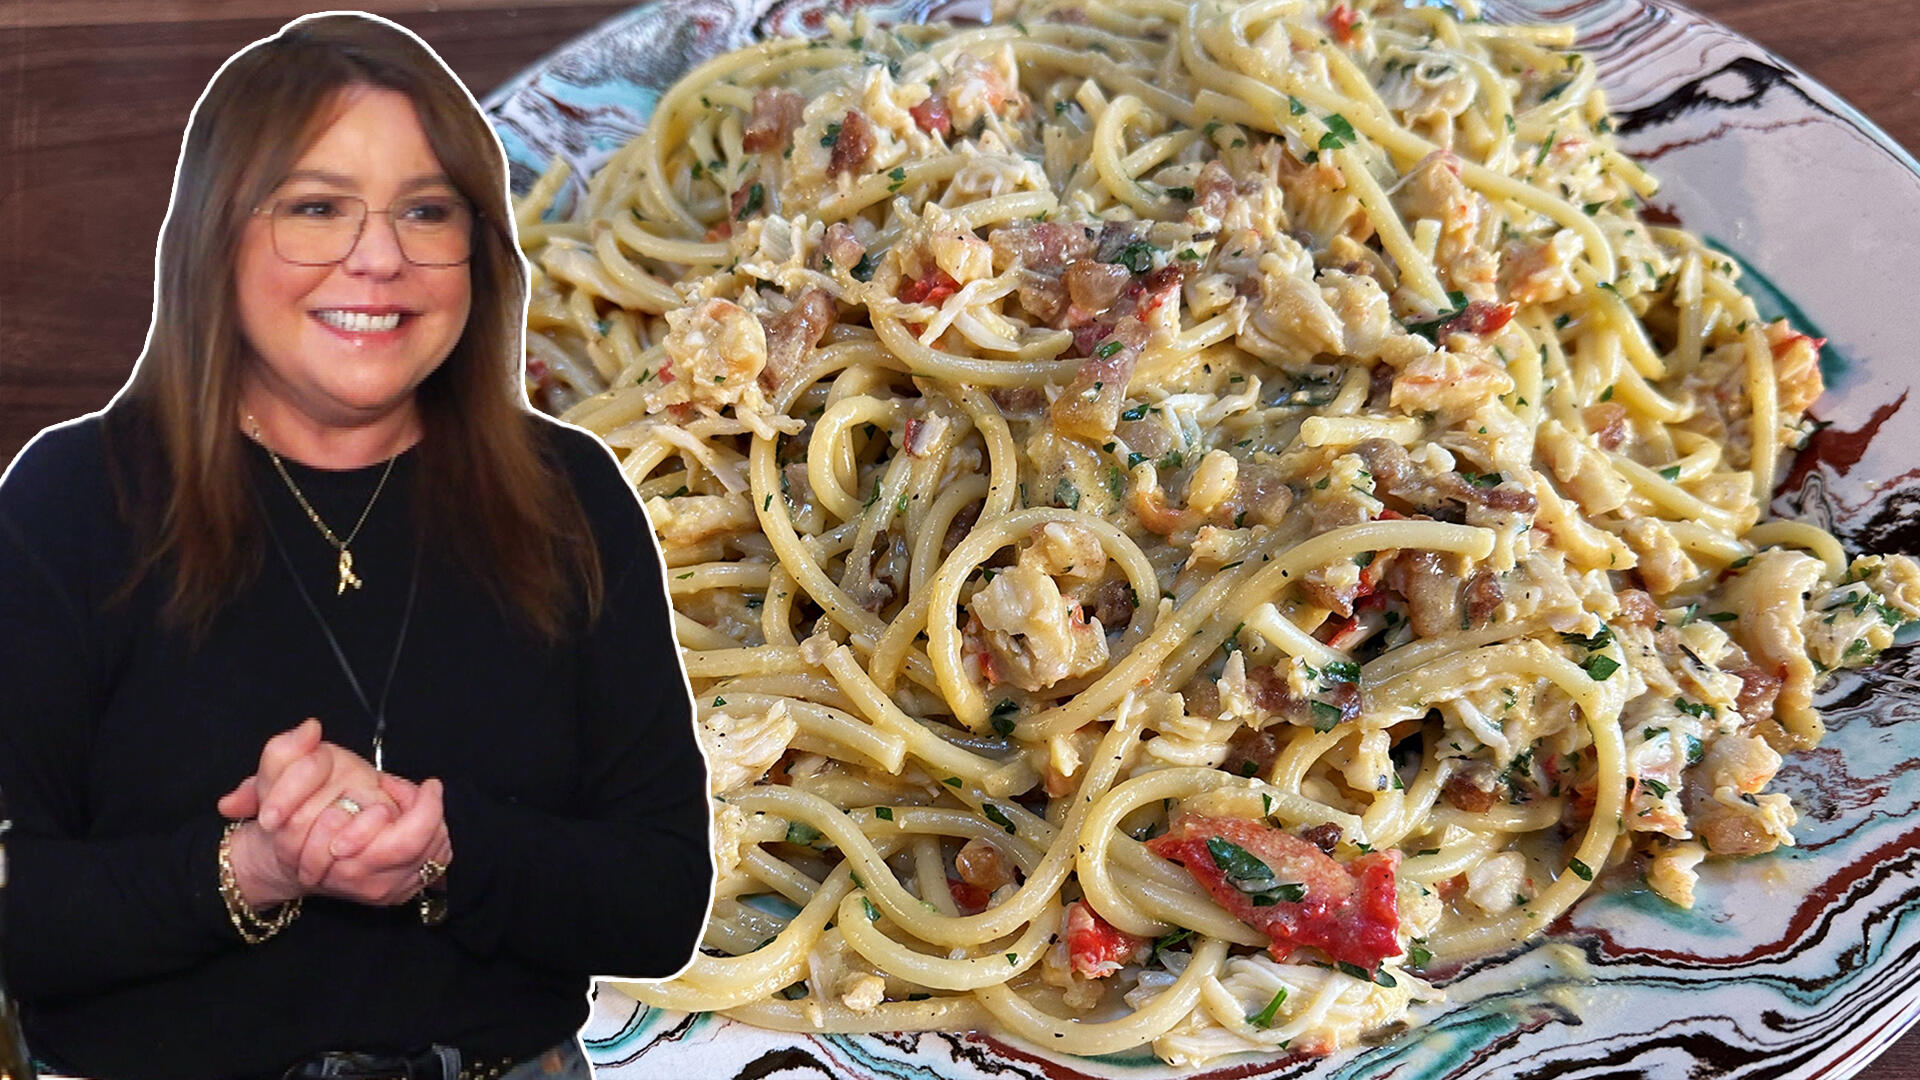
How to Make Crabby Carbonara | Rachael Ray
Rach Chats "Firsts" In Flashback From Our First Episode Ever In …

How to Make Tortilla with Potatoes, Piquillo Peppers and Mancheg…
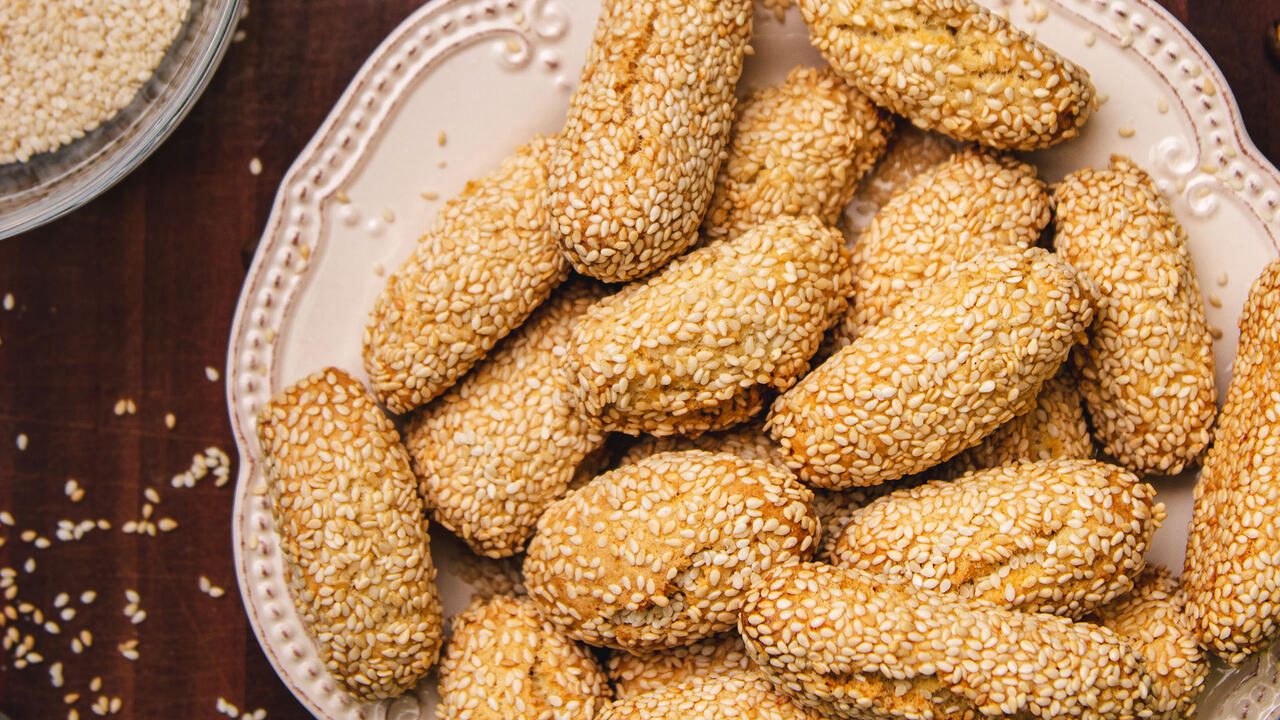
How to Make Sesame Cookies | Buddy Valastro
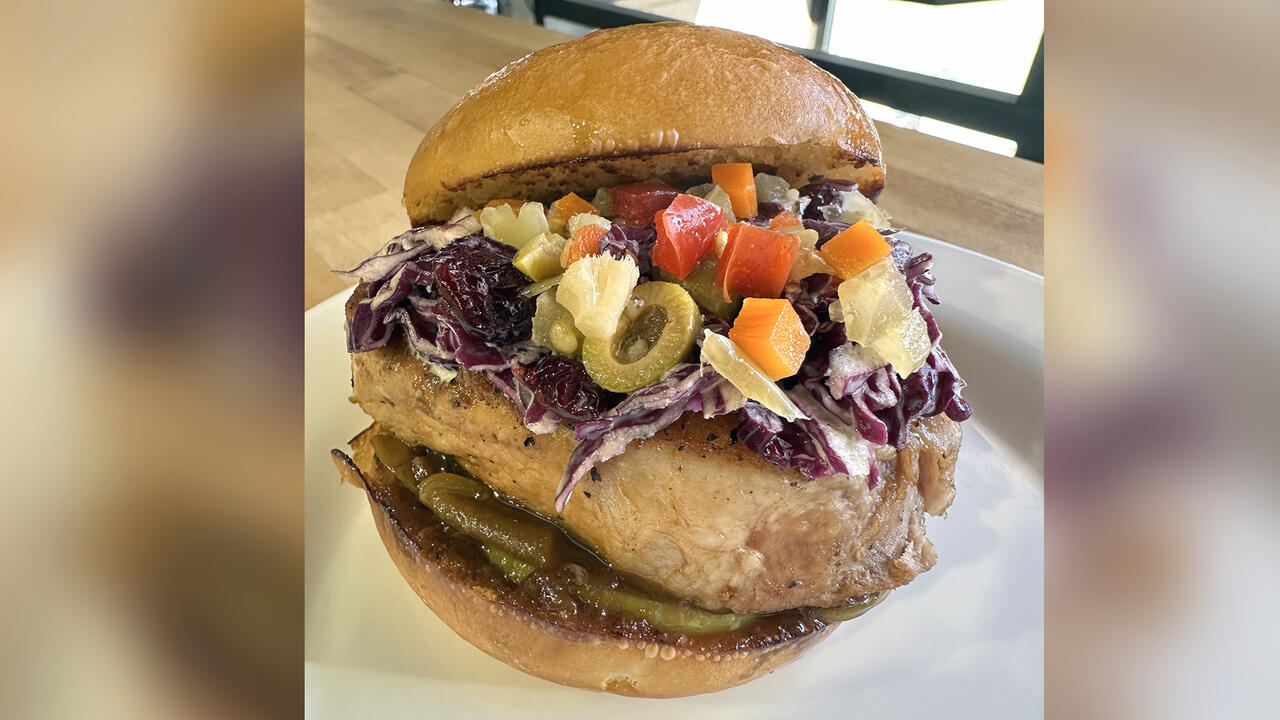
How to Make Apple-Cider Braised Pork Chop Sandwiches with Onion …

Rach's Chef Pals Say Goodbye to Show in Surprise Video Message

Celebrity Guests Send Farewell Messages After 17 Seasons of the …

Andrew McCarthy Teases Upcoming "Brat Pack" Reunion Special
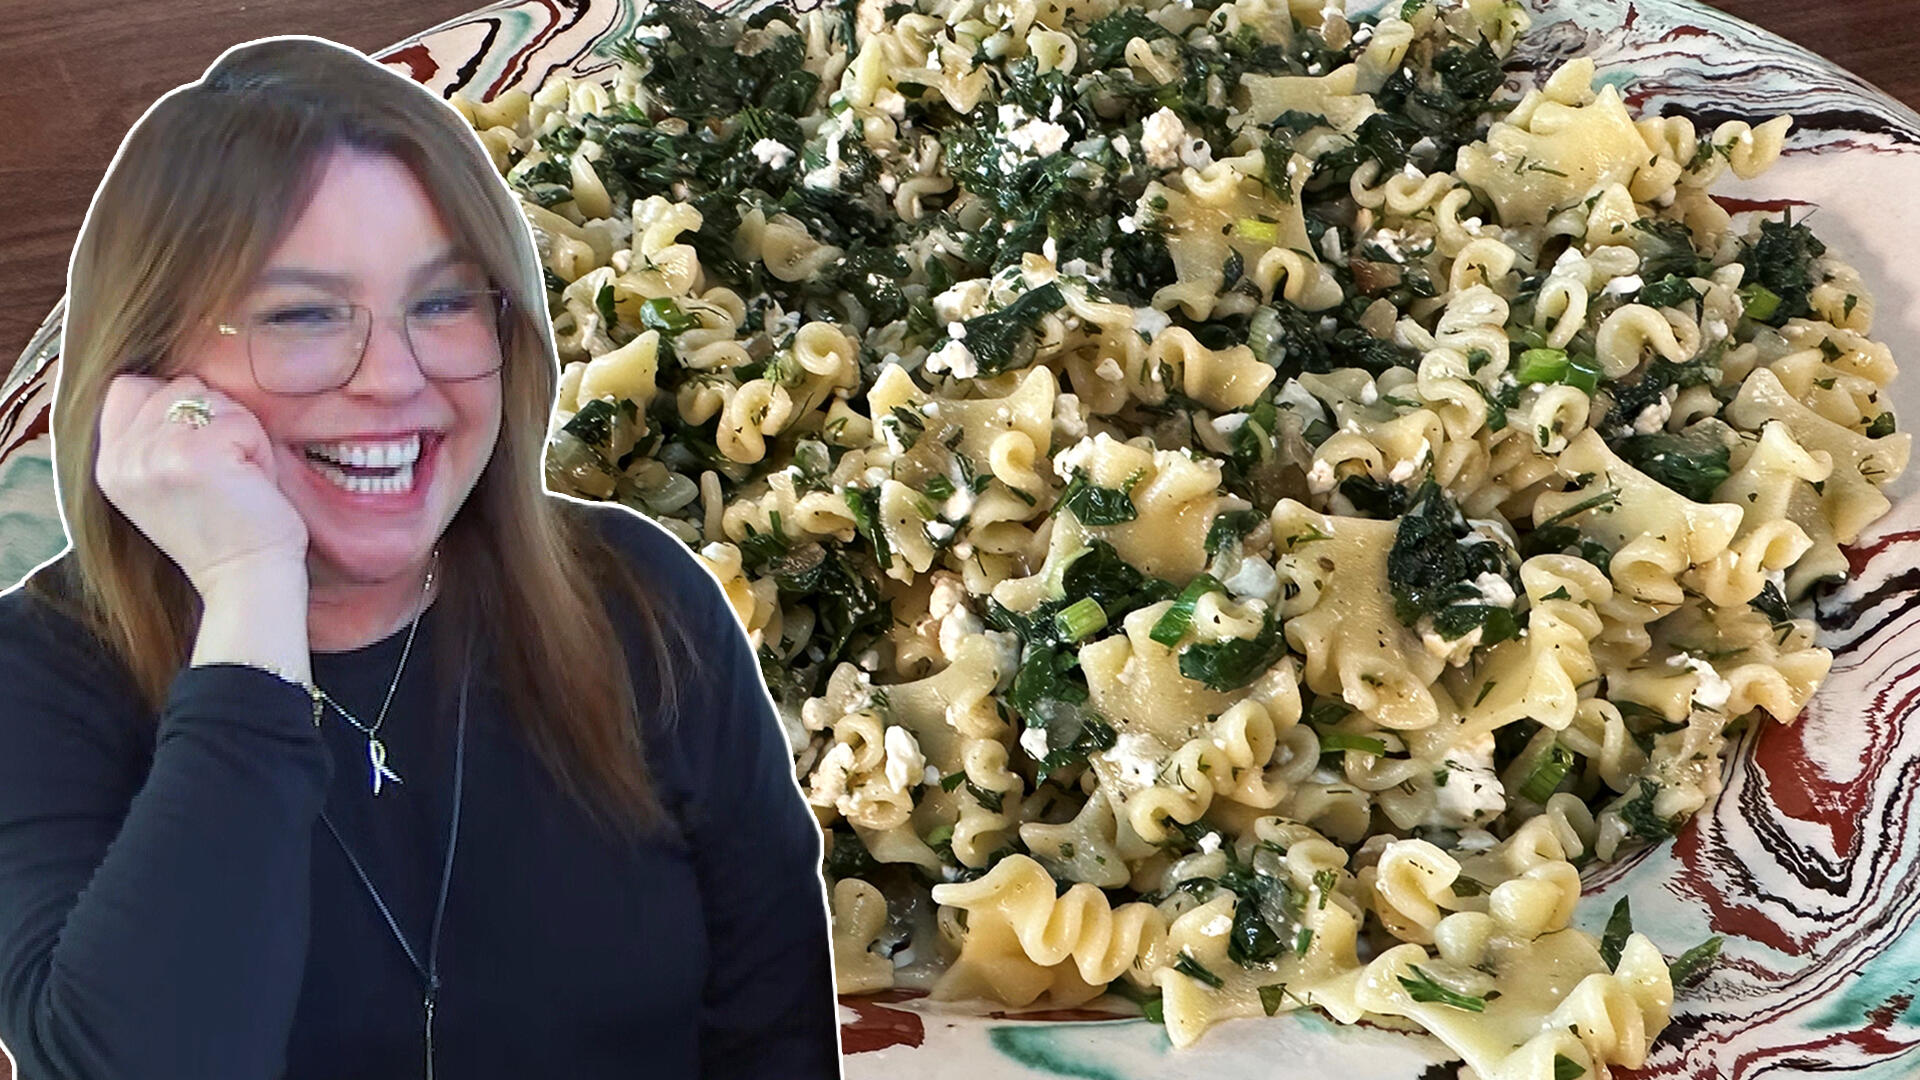
How to Make Spanakopipasta | Rachael Ray
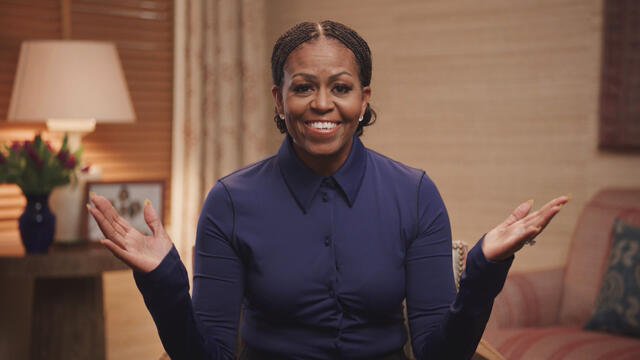
Michelle Obama Toasts Rach's 17 Years on the Air With a Heartfel…

How to Make Shrimp Burgers | Jacques Pepin

Andrew McCarthy Chokes Up Discussing Emotional Trip to Spain wit…

Celebrity Guests Send Farewell Messages After 17 Seasons of the …
Few things get the party started like a beautifully assembled cheese plate. But getting the inspiration to create your own might leave you a little stumped.
That’s where “Cheese By Numbers” comes in to make life easier. (If you've ever done paint by numbers, you know where this is going.)
Marissa Mullen created the popular Instagram account (@cheesebynumbers) in college while preparing for a wine and cheese party with her friends. She says she searched the internet for guides on how to build a cheese plate, but couldn’t find a centralized place for inspiration.
“You’ll see an article here and an article there, but no one website teaches you how to make a cheese plate and the steps,” Marissa says. “I started an Instagram and started posting my own photos and cheese plates.”
The idea really came to life when Marissa’s friend, who is an illustrator, began to draw her plates like a “paint by numbers” but for cheese.
“She illustrated the plates for me with this ‘cheese by numbers’ system and it actually works really well,” Marissa says. And so @cheesbynumbers was born!
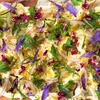
Swipe through to see one of Marissa's impressive finished plates.
"She takes the guesswork out of the coolest, most solid thing to bring to any party or potluck," Rach says of Marissa's beautiful cheese "maps."
Build your own Instagram-worthy cheese plate at home with these 9 steps from Marissa.
1) CHOOSE YOUR PLATE OR BOARD
The first step to creating your DIY cheese plate is choosing your plate or board. Marissa says you can use just about any surface (a cutting board, cookie platter, serving tray, etc.), but she likes to use a circular plate with a lip. This allows you to work clockwise and the lip on the edge prevents food from falling off the plate.
2) SET DOWN RAMEKINS
It’s now time to lay the foundation. Marissa puts down a few ramekins to create a structure for the plate. This will give you a rough guide of where you need to place all of your items.
3) PICK YOUR CHEESE
Marissa’s rule of thumb for picking cheese is always “something aged, something hard and something soft,” such as Brie, Gruyère and goat cheese. When assembling the cheese, make sure to spread them out so they don’t mix when you cut them. It’s also helpful to pre-cut big blocks of cheese so that the slices are easy to eat.
4) SELECT YOUR MEAT
“Cheese and meats are like a married couple. They’re best friends,” Marissa jokes. There’s a variety of meats to choose from, such as salami, prosciutto or sopressata. You’ll want to create a meat “river” down the center of your plate by folding or lightly crumpling each slice of meat and lining them up one in front of the other.
5) SCATTER FRUIT
To add color, Marissa scatters different types of fruit around the plate. This could include pomegranate seeds, berries, fresh figs, dried fruits — the choice is yours!
“As you put the fruit down, you can see the color is becoming vibrant and abundant,” Marissa says. “You don’t really want any gaps on the plate. You want to fill it as much as you can.”
6) ADD VEGETABLES
Next up: veggies. This is another plate filler of your choice that could include cherry peppers, cornichons, carrots, olives or more. But as Marissa notes, make sure to put any vegetable that comes in a brine or oil in its own ramekin. This will prevent any juices from getting on the rest of your plate.
7) SPRINKLE ON CRUNCHY ITEMS
Add some crunch to your cheese plate by sprinkling on pistachios, mixed nuts, seeded crackers or any crunchy item of your choosing. If your running out of room for crackers, Marissa suggests making a separate cracker plate.
8) SPOON YOUR FAVORITE SPREADS IN RAMEKIN
The remaining ramekin(s) can be used for spreads. Spoon your favorite honey, jam or tapenade for guests to add to their plates.
9) GARNISH
For the finishing touch, garnish your plate with flowers, rosemary or sage to fill in the remaining gaps. And voilà!