

The "Property Brothers" DIY a $400 Orb Chandelier For $20
Q&A with Organizational Pro Peter Walsh + Dermatologist Shares A…
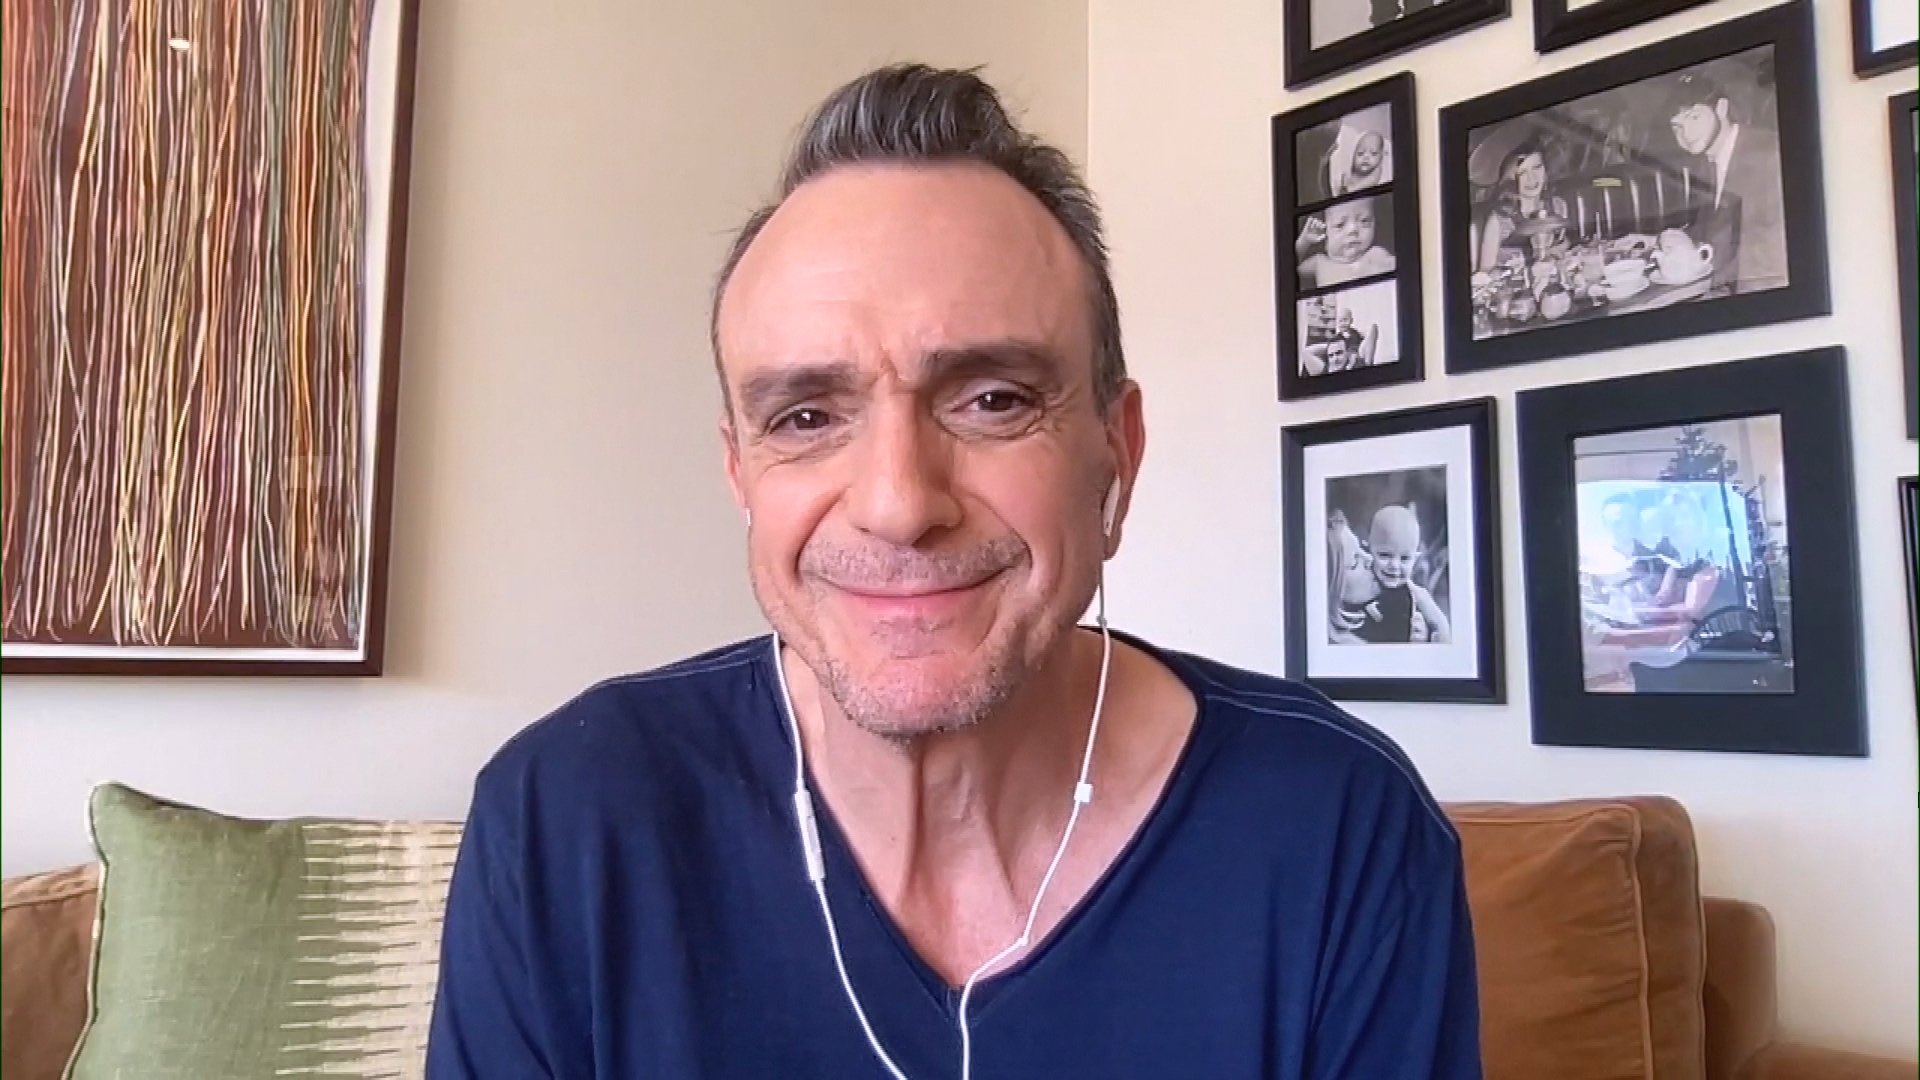
Actor Hank Azaria + Freezer Meals + Artichokes 2 Ways with Rach

See Inside Barbara Corcoran's Stunning NY Apartment + It's Steak…
The Best Moments From 17 Seasons of the Show Will Make You Laugh…
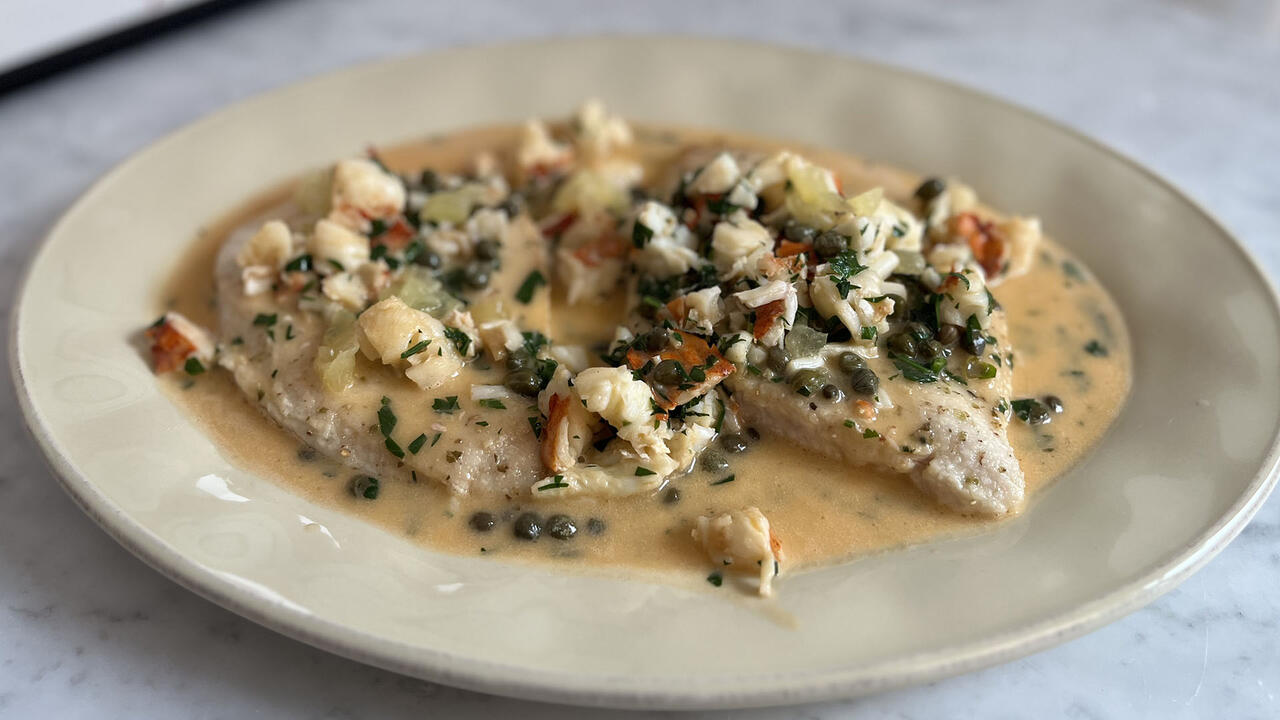
How to Make Chicken and Lobster Piccata | Richard Blais

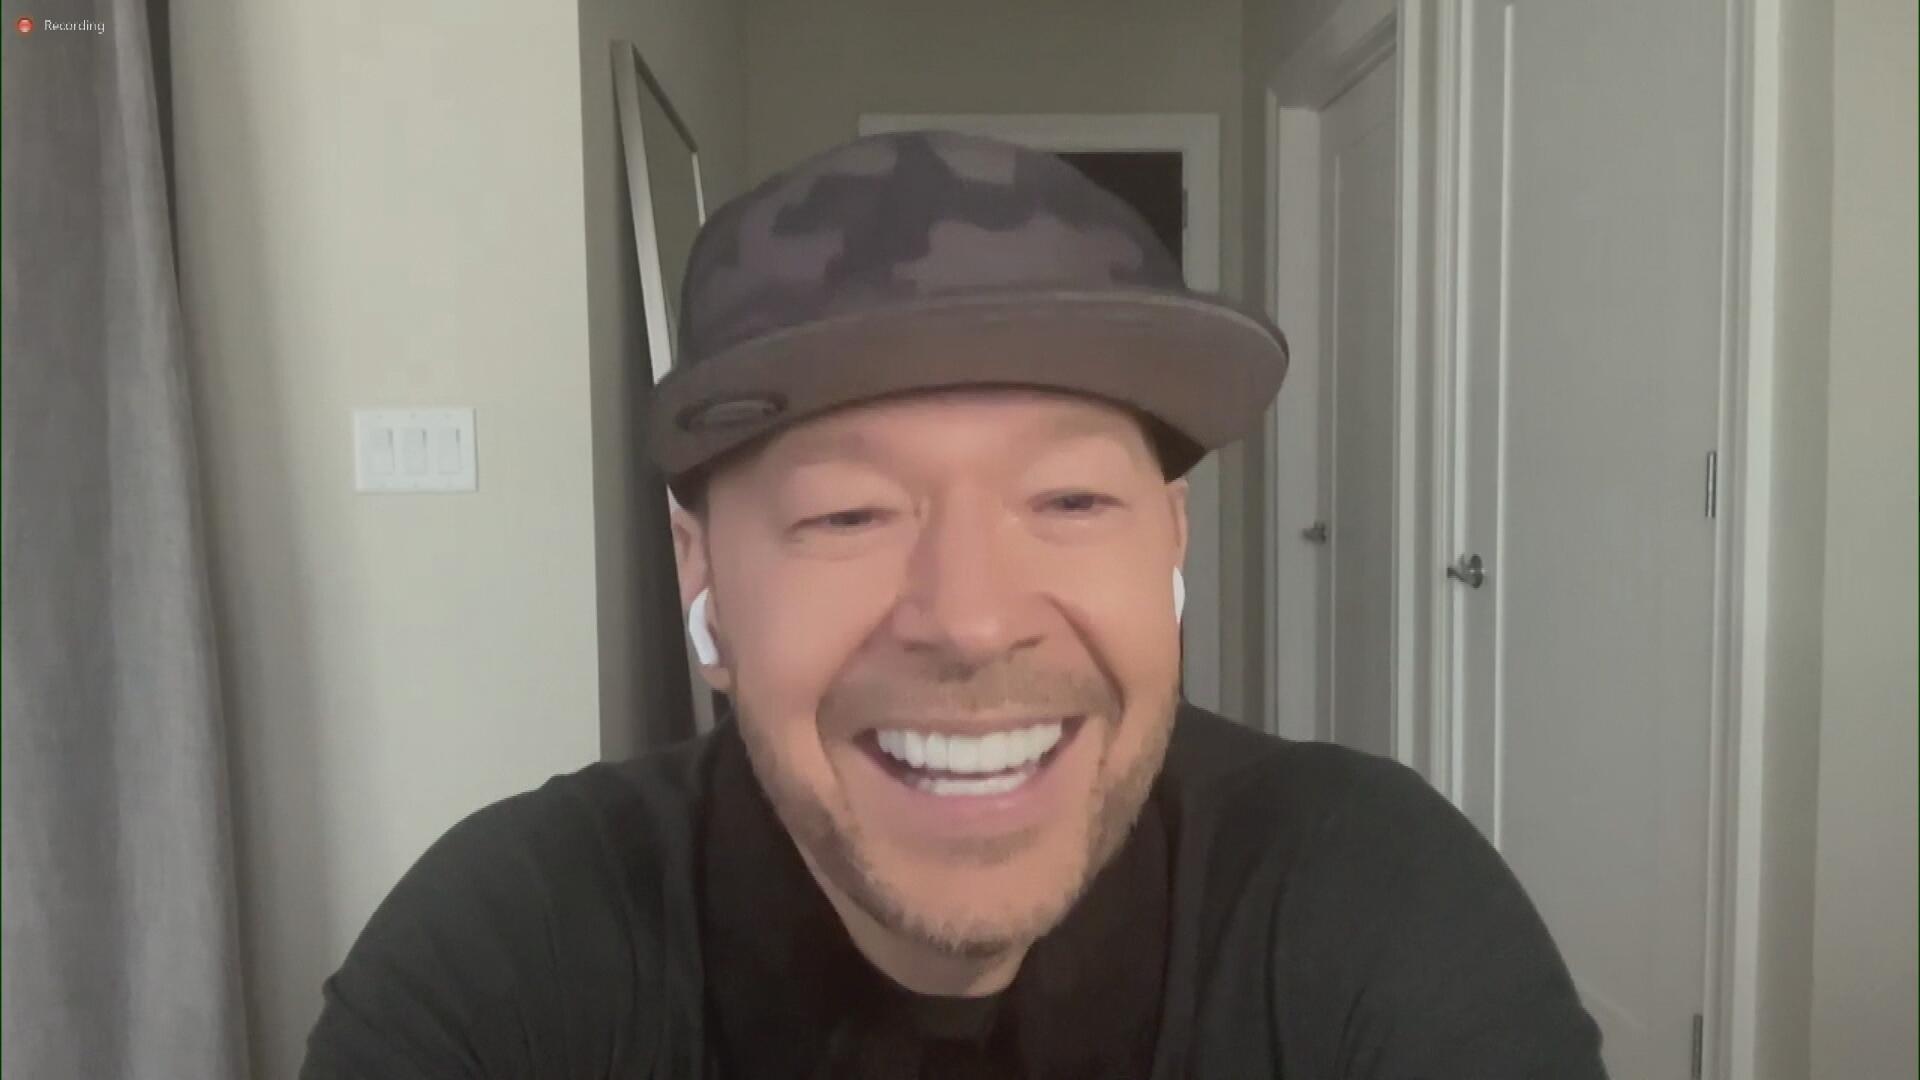
Donnie Wahlberg Spills Details About NKOTB's First Ever Conventi…
Donnie Wahlberg + Jenny McCarthy Say Rach Is Such a "Joy" + Look…
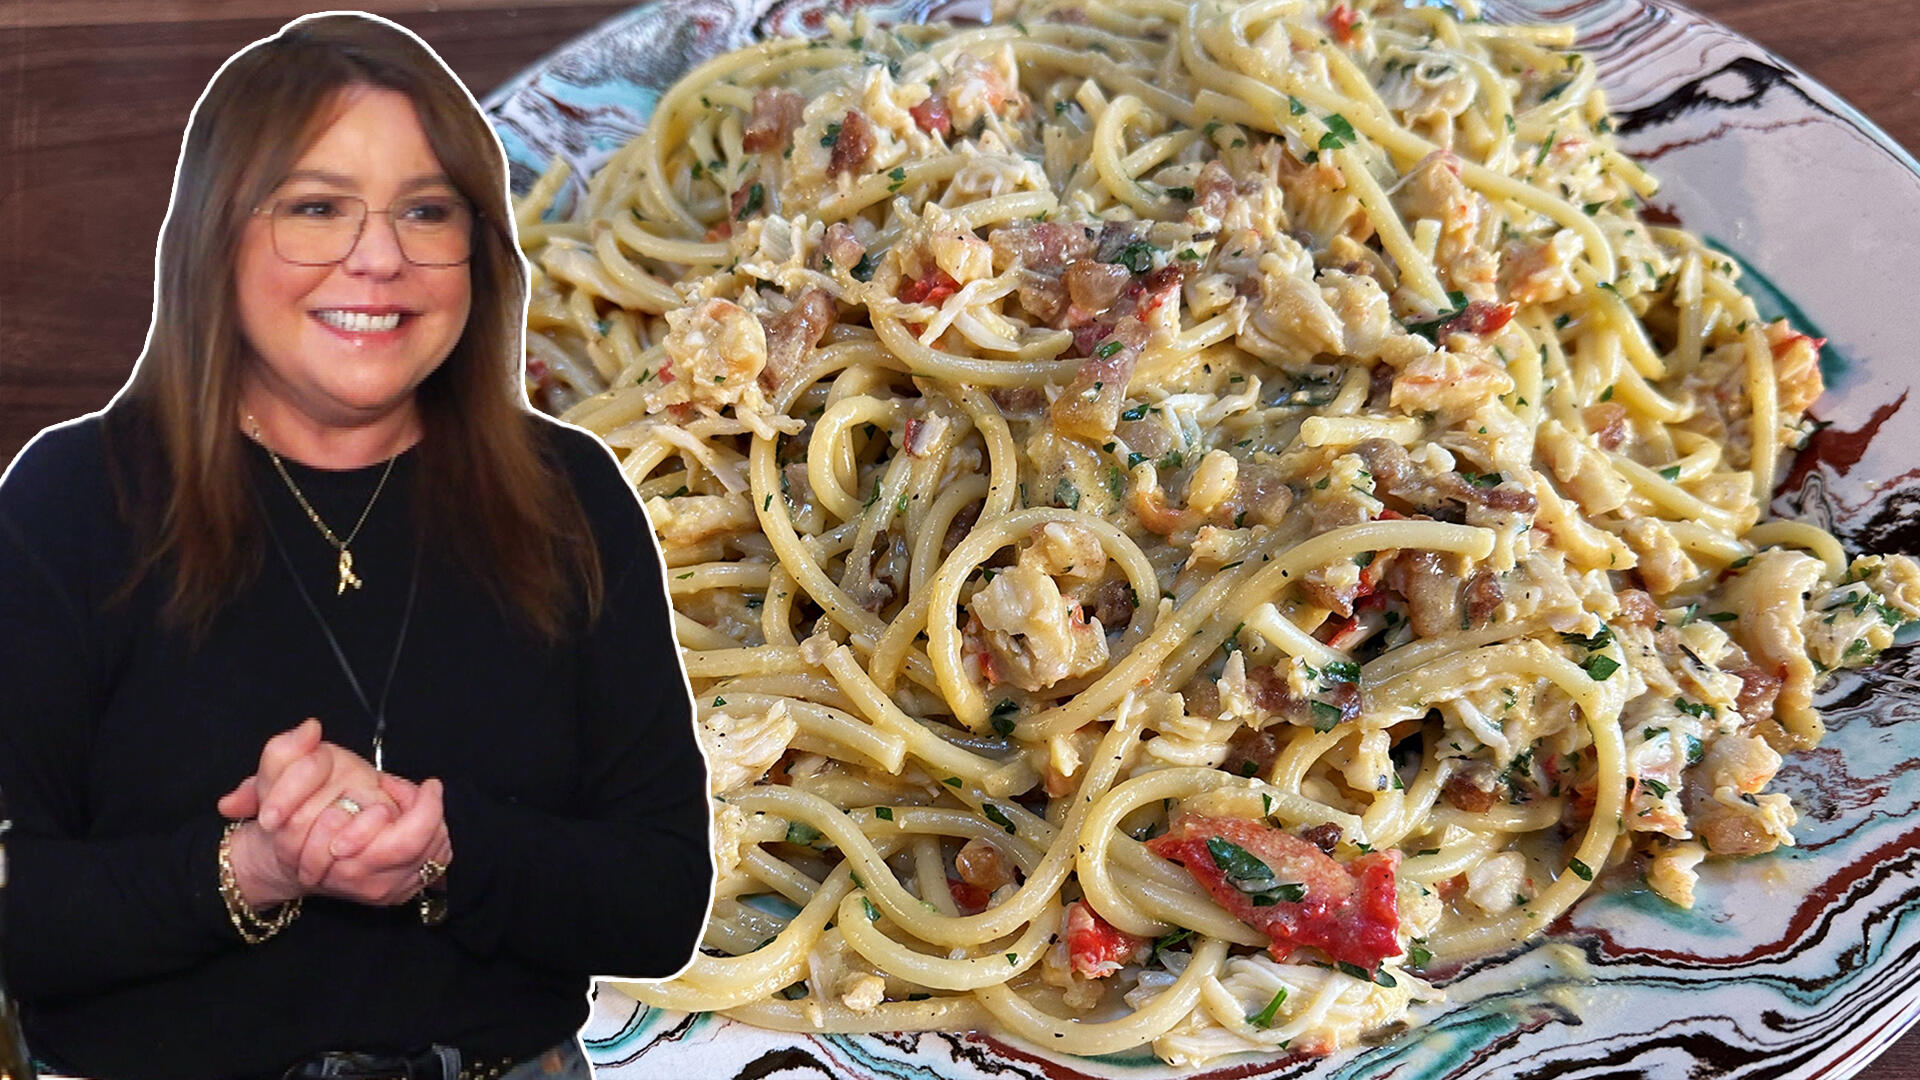
How to Make Crabby Carbonara | Rachael Ray
Rach Chats "Firsts" In Flashback From Our First Episode Ever In …

How to Make Tortilla with Potatoes, Piquillo Peppers and Mancheg…
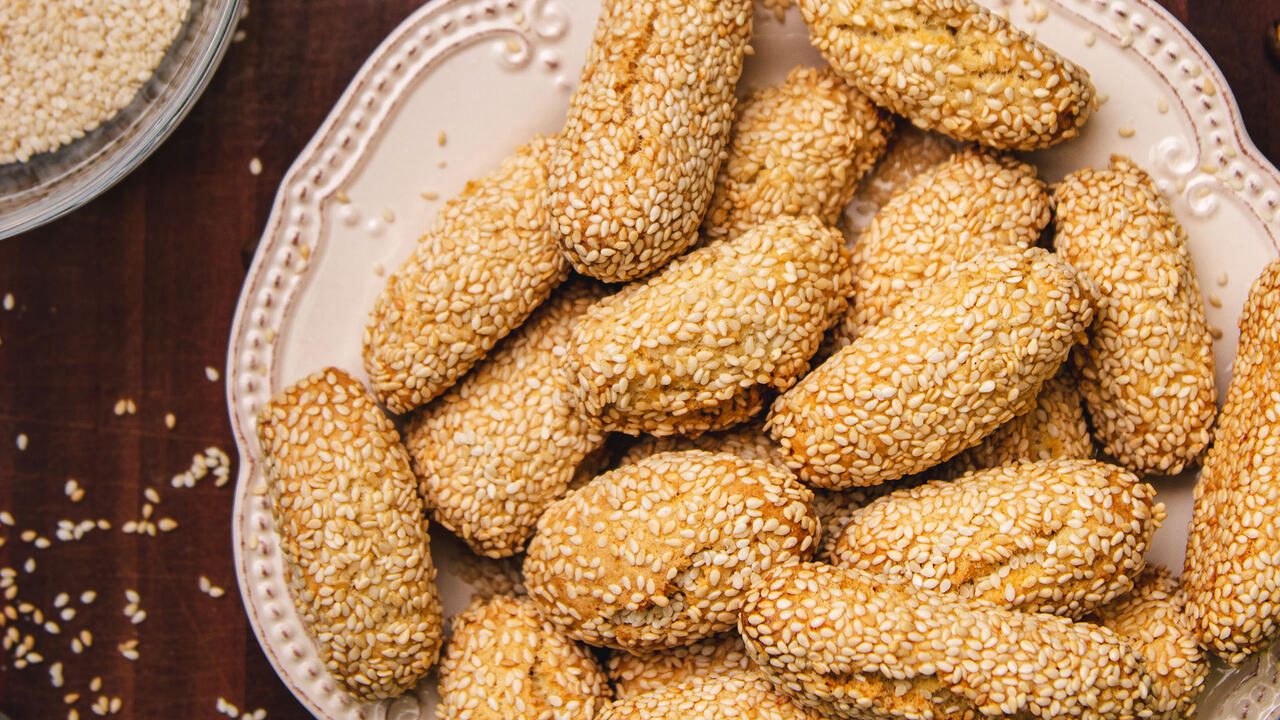
How to Make Sesame Cookies | Buddy Valastro
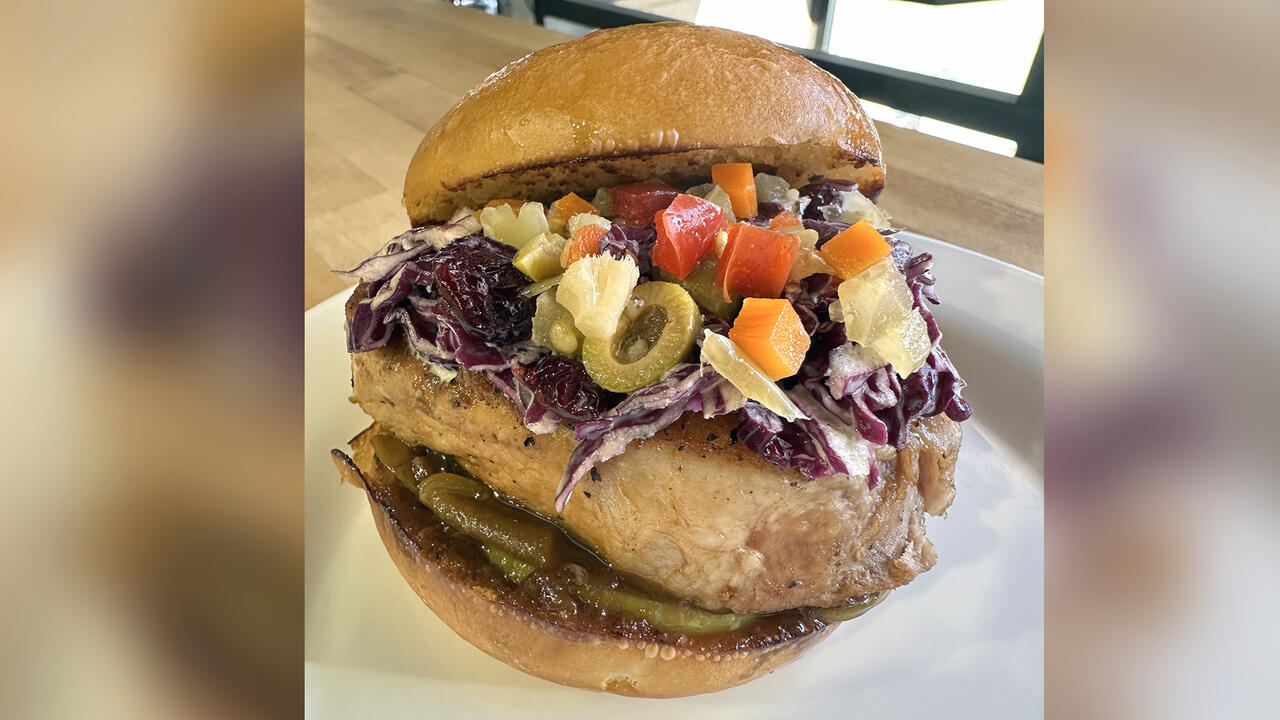
How to Make Apple-Cider Braised Pork Chop Sandwiches with Onion …

Rach's Chef Pals Say Goodbye to Show in Surprise Video Message

Celebrity Guests Send Farewell Messages After 17 Seasons of the …
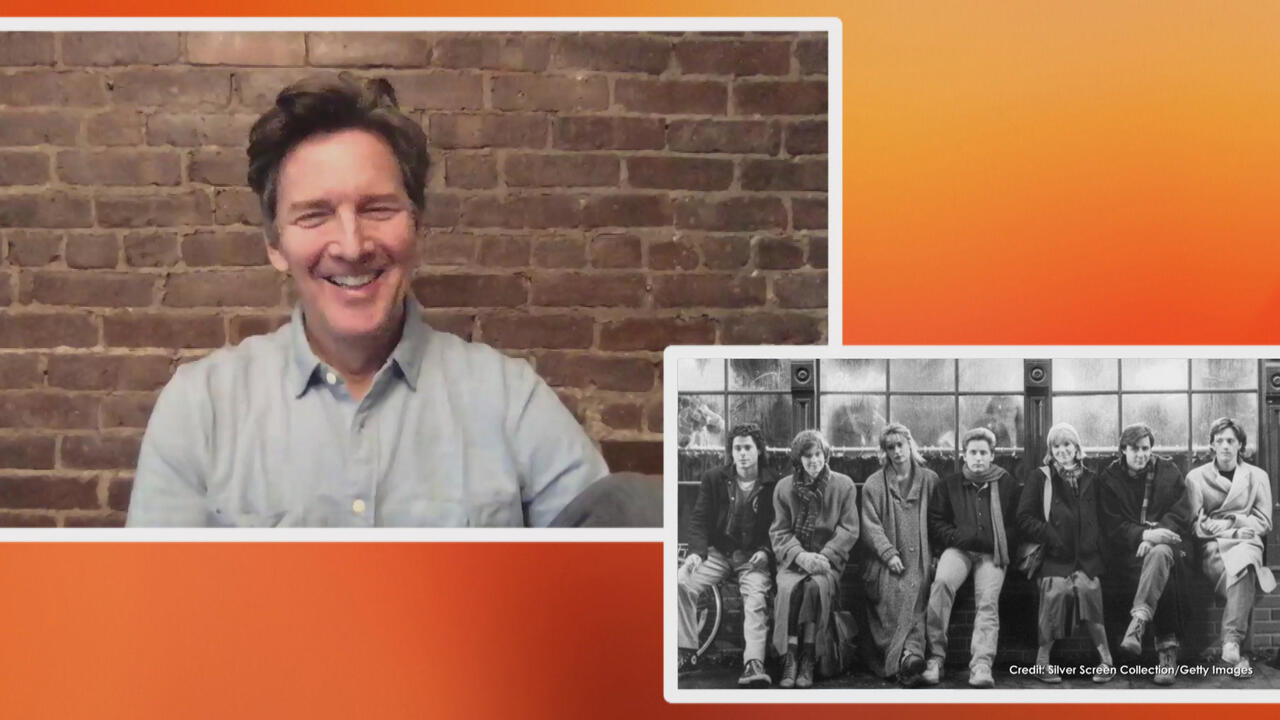
Andrew McCarthy Teases Upcoming "Brat Pack" Reunion Special
How to Make Spanakopipasta | Rachael Ray

Michelle Obama Toasts Rach's 17 Years on the Air With a Heartfel…

How to Make Shrimp Burgers | Jacques Pepin

Andrew McCarthy Chokes Up Discussing Emotional Trip to Spain wit…

Celebrity Guests Send Farewell Messages After 17 Seasons of the …
Trendy orb chandeliers are *everywhere* these days.
You know the ones we're talking about? We even have one on set!
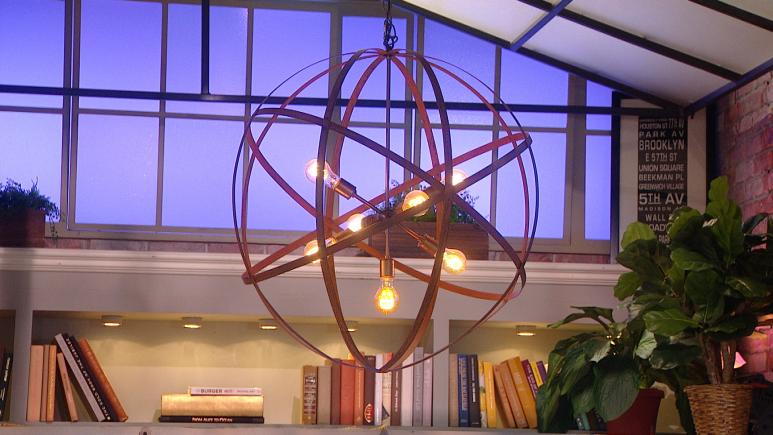
Rachael Ray Show
Gorgeous, right?
Well, the only problem is they can be pretty pricey. In fact, they can easily go for $400 or more!
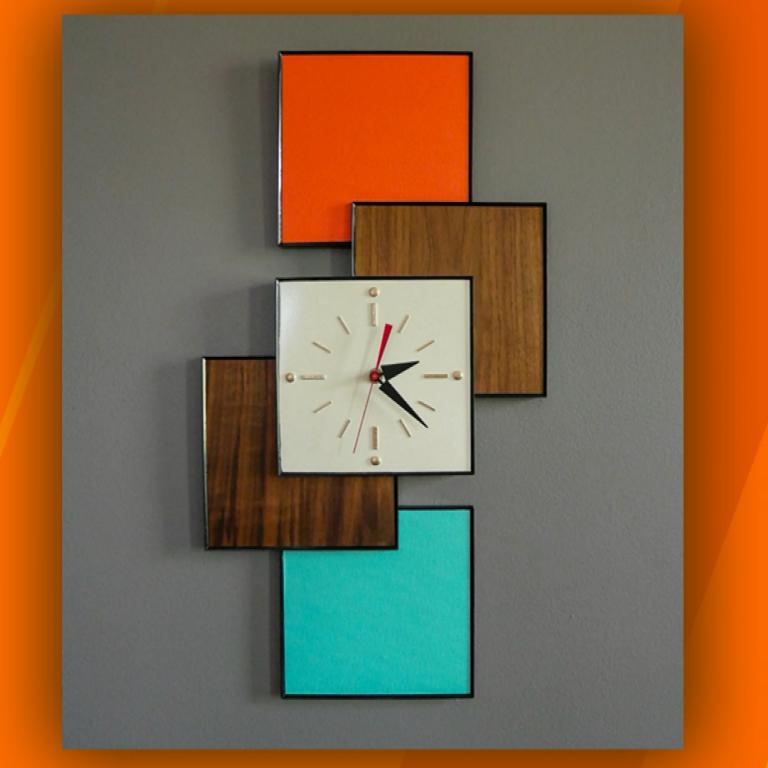
RELATED: How to DIY a $200 Statement Wall Clock On a Budget (Only $20!!)
Luckily, the "Property Brothers" Drew and Jonathan Scott showed us how to DIY a copycat version with a few simple supplies (think hula hoops and gold spray paint!) in just a couple of hours.
Here's the step-by-step—and you can also follow along in the video above!
1. Drill It
Jonathan says to start by stacking the hoops upright inside each other to create a cage-like structure that will hold the light itself. Then, he says, drill a hole through the top so you can pin them together at the end. (The brothers recommend wearing safety goggles while drilling.)
2. Spray Paint it
Using any color of your choice (Jonathan went for gold to keep it *extra* classy and mimic the classic metal hues of chandeliers), spray paint the hula hoops on all sides. They also recommend finishing the whole thing with a clear topcoat so it lasts longer.
(Pro tip: Always spray paint in a well-ventilated area).
3. Pin It
Once all the hoops are painted, stick a pin through the top holes (that you drilled in Step 1), so that the hoops come together to form the chandelier structure.
RELATED: Decor On a Budget: DIY $500 Geometric Mirror For Less Than $50
4. Light It
Grab a minimal hanging light at the hardware store and simply wrap it through the top area of the structure so that it hangs in the middle. Plug it in, and you’re good to go.
Check it out:
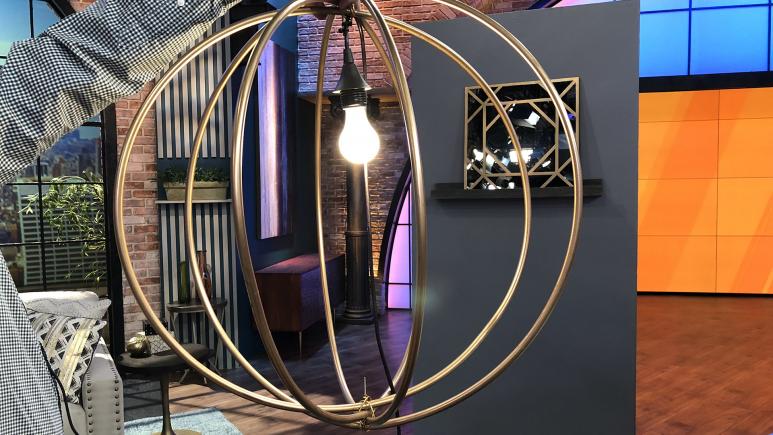
Rachael Ray Show
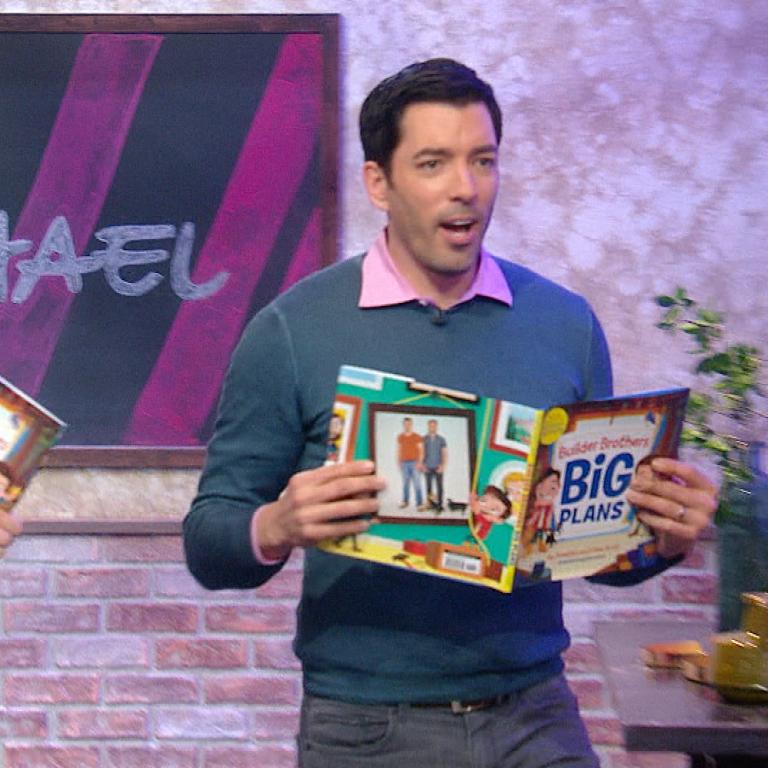
PS: Check out the New York Times bestselling authors' first picture book Builder Brothers: Big Plans here—a winning blend of imagination, humor, and can-do know-how.