


How to Fix Common DIY Fails Like a Pro

Q&A with Organizational Pro Peter Walsh + Dermatologist Shares A…

Actor Hank Azaria + Freezer Meals + Artichokes 2 Ways with Rach

See Inside Barbara Corcoran's Stunning NY Apartment + It's Steak…

The Best Moments From 17 Seasons of the Show Will Make You Laugh…

How to Make Chicken and Lobster Piccata | Richard Blais

Donnie Wahlberg Spills Details About NKOTB's First Ever Conventi…

Donnie Wahlberg + Jenny McCarthy Say Rach Is Such a "Joy" + Look…

How to Make Crabby Carbonara | Rachael Ray
Rach Chats "Firsts" In Flashback From Our First Episode Ever In …

How to Make Tortilla with Potatoes, Piquillo Peppers and Mancheg…

How to Make Sesame Cookies | Buddy Valastro
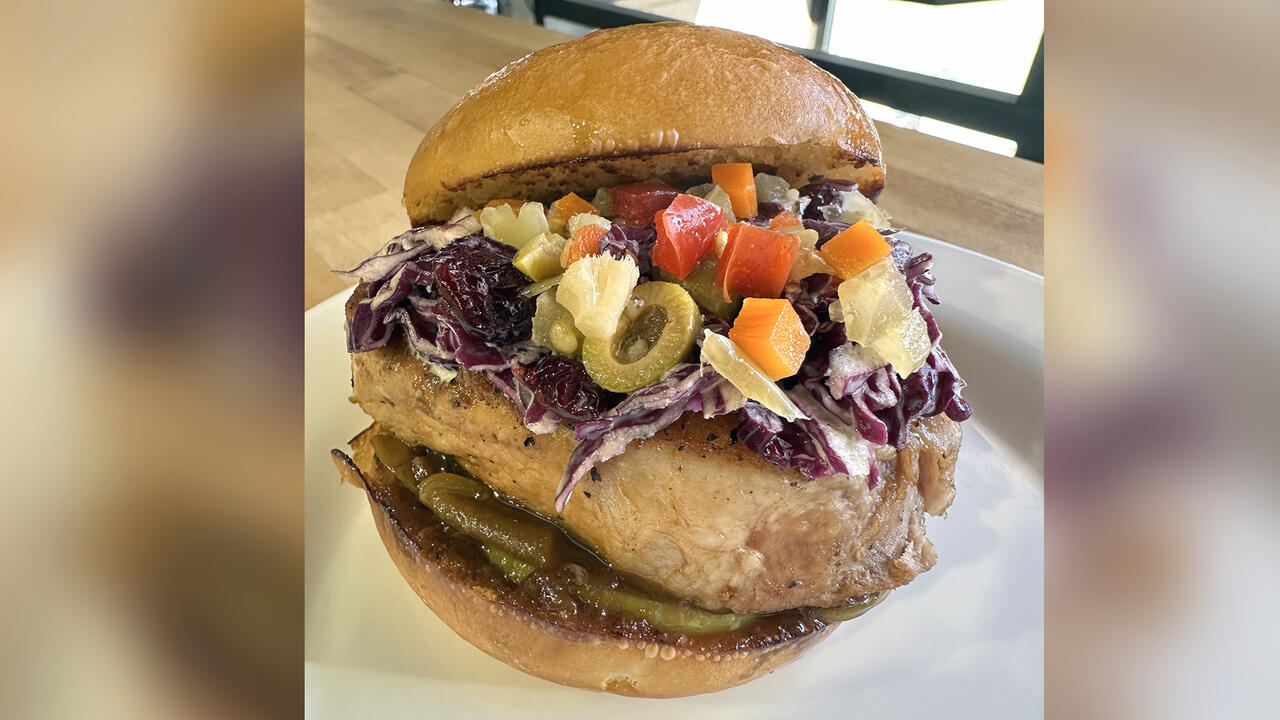
How to Make Apple-Cider Braised Pork Chop Sandwiches with Onion …

Rach's Chef Pals Say Goodbye to Show in Surprise Video Message

Celebrity Guests Send Farewell Messages After 17 Seasons of the …

Andrew McCarthy Teases Upcoming "Brat Pack" Reunion Special
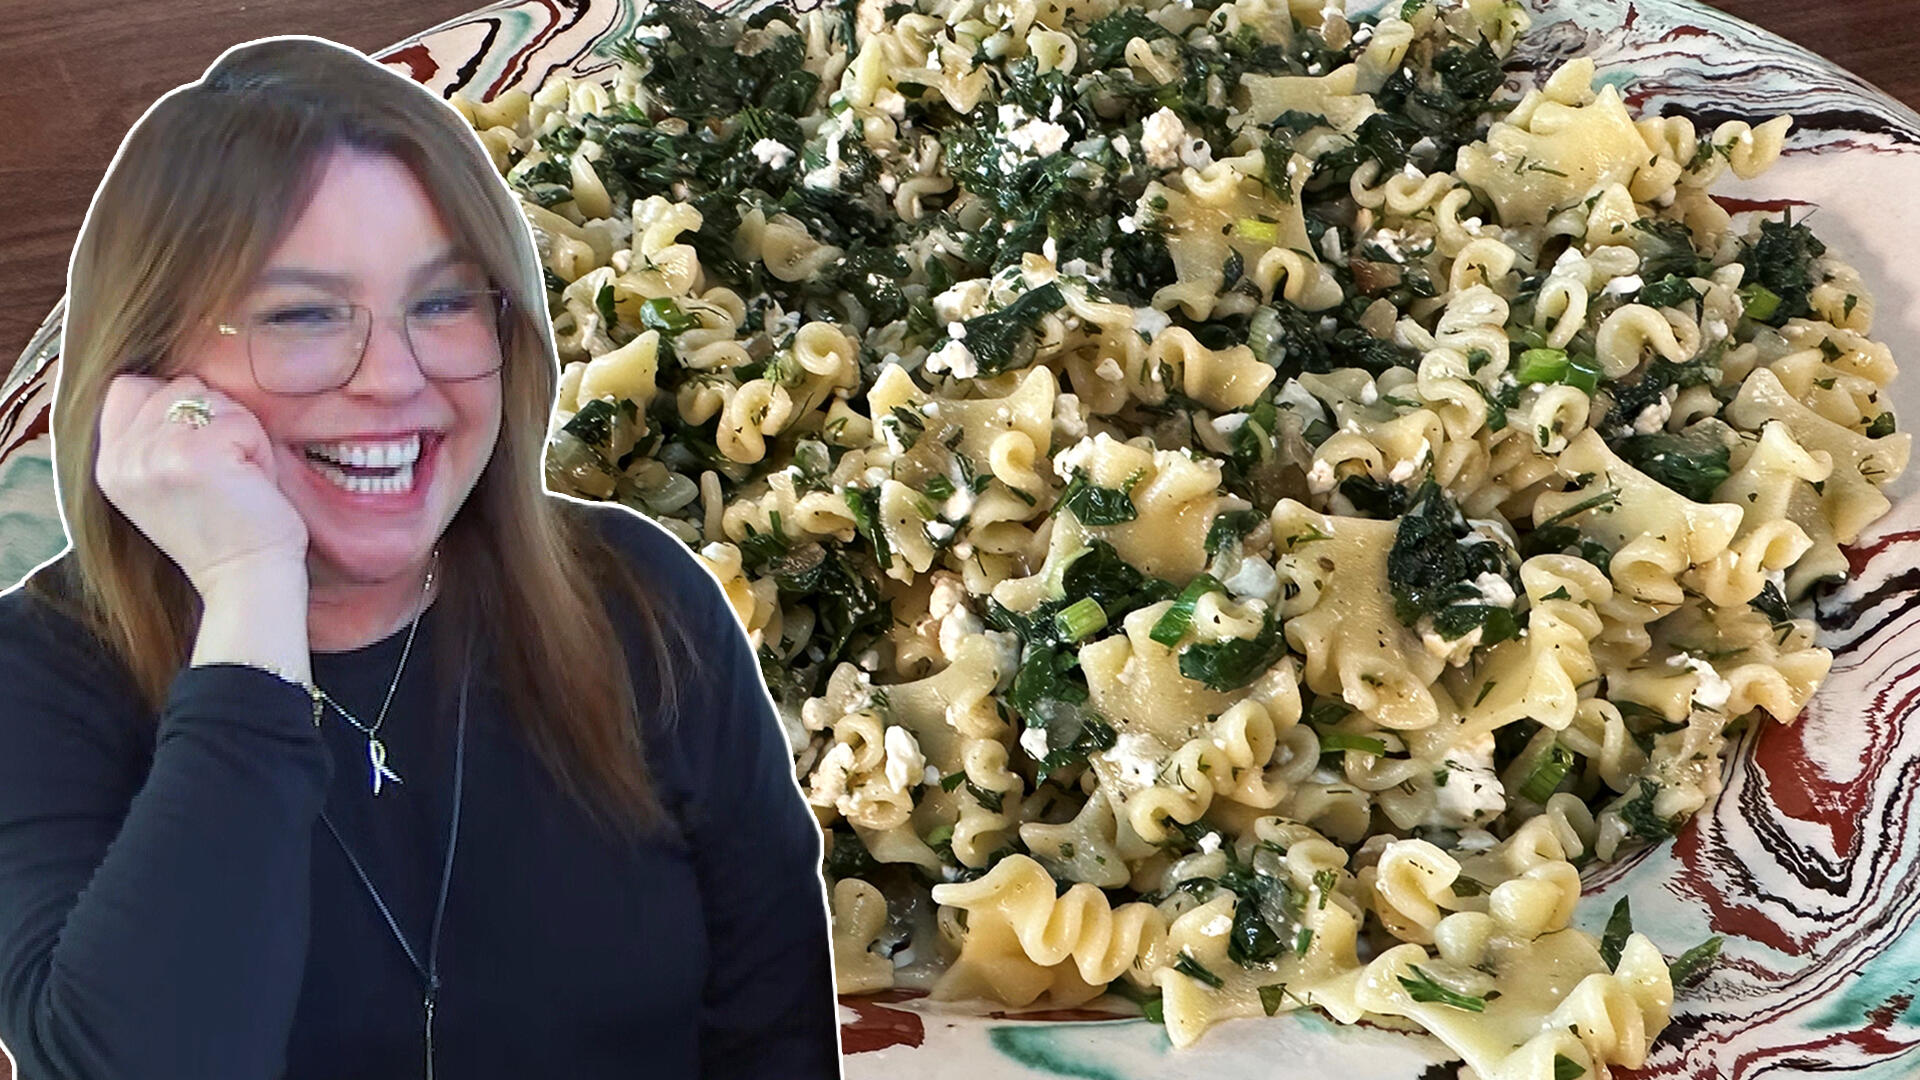
How to Make Spanakopipasta | Rachael Ray

Michelle Obama Toasts Rach's 17 Years on the Air With a Heartfel…

How to Make Shrimp Burgers | Jacques Pepin

Andrew McCarthy Chokes Up Discussing Emotional Trip to Spain wit…

Celebrity Guests Send Farewell Messages After 17 Seasons of the …
DIY disasters happen to the best of us, right?
Every picture-perfect Pinterest project seems totally doable … until we actually do it.
RELATED: 3 Money-Saving Ways to Make Your Home Look Like a Million Bucks
Well, Brit Morin -- decor expert and founder of women’s media company Brit + Co -- played “DIY doctor” when she visited our show and tackled 3 common DIY fails right in front of our eyes.
As it turns out, most of us are making the same mistakes -- and you can find out how to avoid them below.
We’re all in this together, after all!
PENDANT LIGHTS
The perfect light fixture can light up an entire room (literally and figuratively) -- but the nicest ones can often cost a pretty penny.
“They usually cost many hundreds of dollars if you buy them in stores,” Brit says.
So why not make your own, like this one?
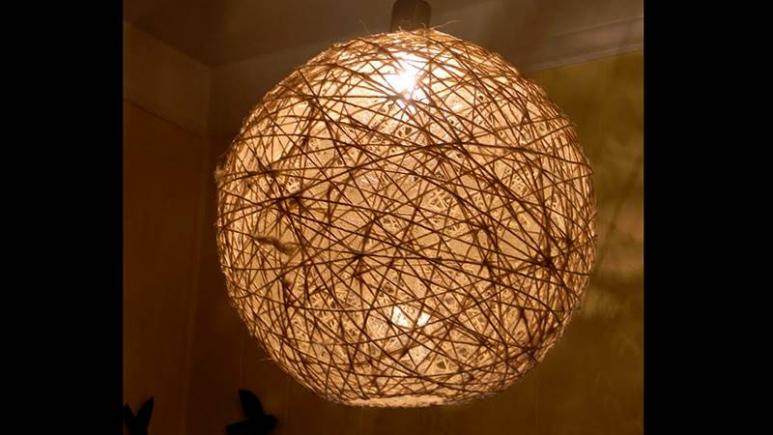
Rachael Ray Show
Common problem: To put it simply, pendants tend to indent and collapse, like so --
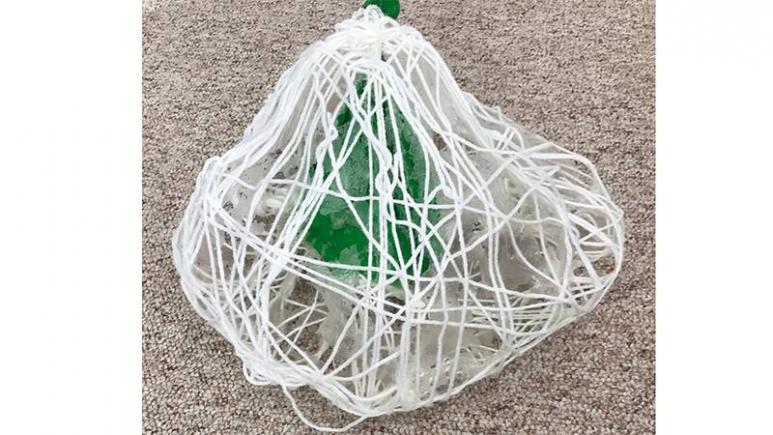
Rachael Ray Show
Solution: You’ll need two balloons (the second one is key to fixing any indentations), mod podge and string (NOT yarn, as it doesn’t stick as well together).
Watch Brit walk Rach through the process in the video above!
RELATED: How to DIY Your Own Neon Sign (Really), Cake Clock + Copper Table
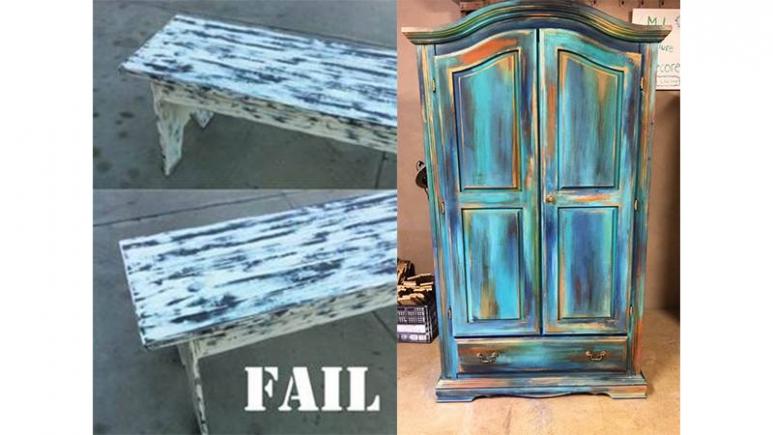
DISTRESSING FURNITURE
In an attempt to achieve a rustic look, many crafty homeowners will attempt to distress their furniture -- and end up with splotchy pieces.
But, don’t fret, not all furniture-distressing projects have to be -- well -- distressing!
Common mistake: Brit says most DIYers start distressing the piece of furniture too early or too late.
Solution: Time your paint! After painting over your abstract colors with black paint, Brit suggests letting it set for 10 minutes before distressing it with a wet rag.
If you’re feeling fancy, use sandpaper to distress the piece a bit more once the paint is dry.
How stunning is the finished armoire on the right?
Rachael Ray Show
CRAYON ART
This colorful canvas definitely seems like the most fun! But according to Brit, “[It] might be one of the most popular Pinterest projects ever that people really mess up on.”
Common mistake: Most people adhere their crayons with tape (not the best move) and blow dry the crayons incorrectly, causing the different colors to collide in a way that’s not the most ideal (like in the photo on the left, below).
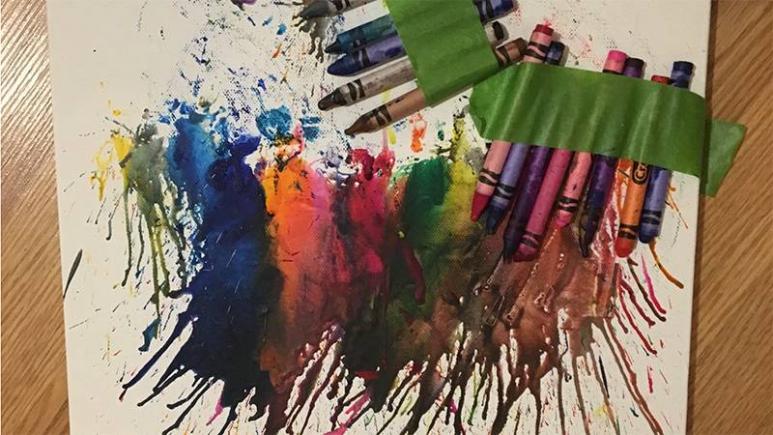
Rachael Ray Show
Solution: Adhere your crayons with hot glue onto a blank canvas, put the canvas inside a cardboard box to avoid dripping elsewhere in your home and put your blow dryer on hot to essentially melt the crayon wax, like so:

Rachael Ray Show
Now, the key to mastering this project, Brit says, is to blow straight down on the crayons so the colors don’t mix in an odd manner.
Be sure to watch the video above to see how closely Brit holds the blow dryer to the crayons (people mess this part up, too, she says!).